
How to Make Puffy Paint
Puffy Paint is an excellent tool to have in your toolbox. This is a fun medium for teaching kids how to draw lines and shapes or even trace letters. It’s also great entertainment if they like to free draw. The paint dries puffed up, so it brings their creations to life! What’s great about this is that it’s easy to make at home with ingredients you probably already have.
Benefits of Puffy Paint
Puffy paint can be used for multi-sensory learning.
Multisensory learning means that multiple senses are involved in a task. This helps solidify what is being learned because various channels in the brain are being utilized. It’s an excellent method to help your child learn.
Painting with it can help with the development of fine motor skills.
The act of painting helps with fine motor skills like hand-eye coordination, hand strength, small muscle control, grasp, and more!
It inspires your child’s imagination.
Art activities are a great way to inspire your child’s creativity and imagination. If your child doesn’t know what to paint, you can always start them off with a prompt and let their imagination run wild!
Puffy paint is excellent for teaching colors, letters, and shapes.
Introduce colors to your child by having different shades of puffy paint. Introducing colors through an activity enforces this learning.
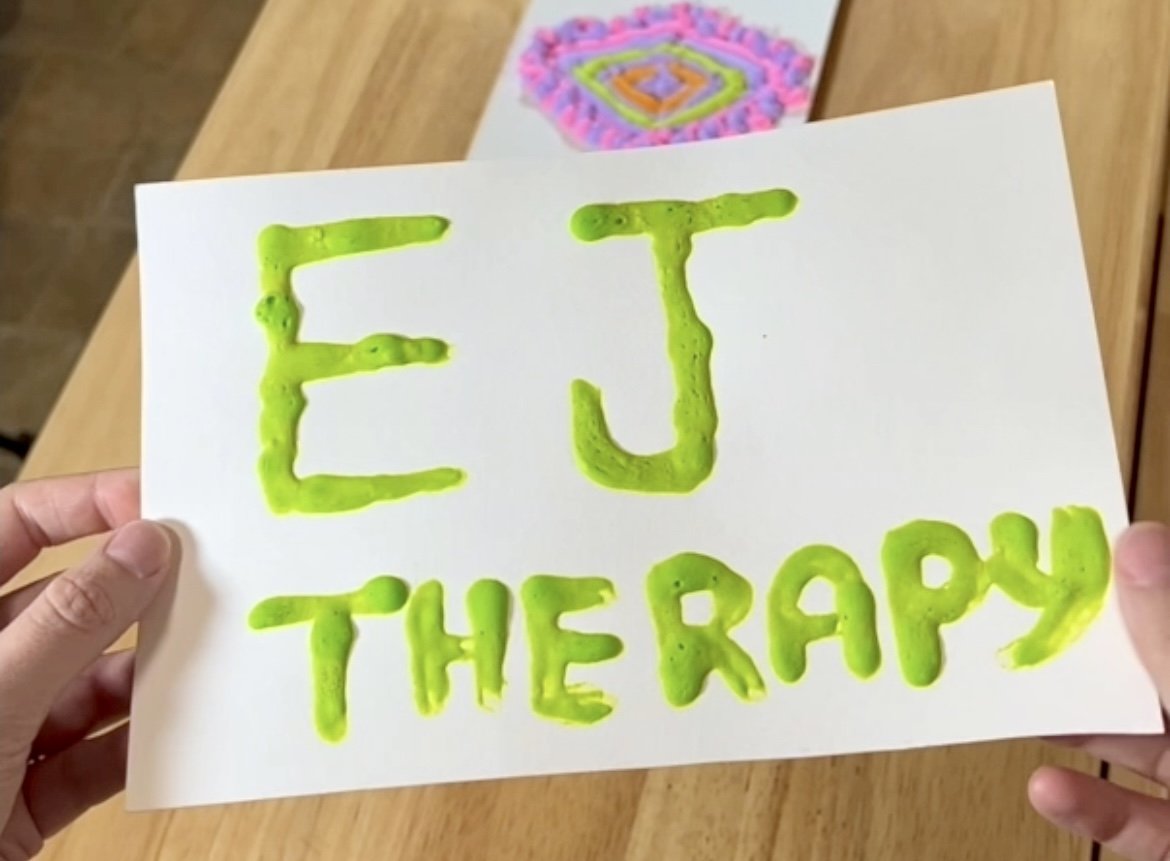
Draw letters, shapes, or lines for your child to trace over.
Activities with Puffy Paint

Tracing with Puffy Paint
Trace a coloring page or color with puffy paint.
Print out a coloring page and let your child either trace or color the page with puffy paint.
Use different brushes or finger paint.
Using different brushes, your fingers, a q-tip, or a squeeze bottle produces various sizes and textures of lines.
Connect the dots with puffy paint.
Make scented puffy paint by adding essential oils.
Combine puffy paint with other mediums.
Since puffy paint is…well…puffy, it combines well with other mediums like crayons, watercolors, acrylic paints, markers, etc. If you want one part of the painting to stand out and have some texture, use puffy paint. For example, have the clouds painted with puffy paint.
Puffy Paint Recipe
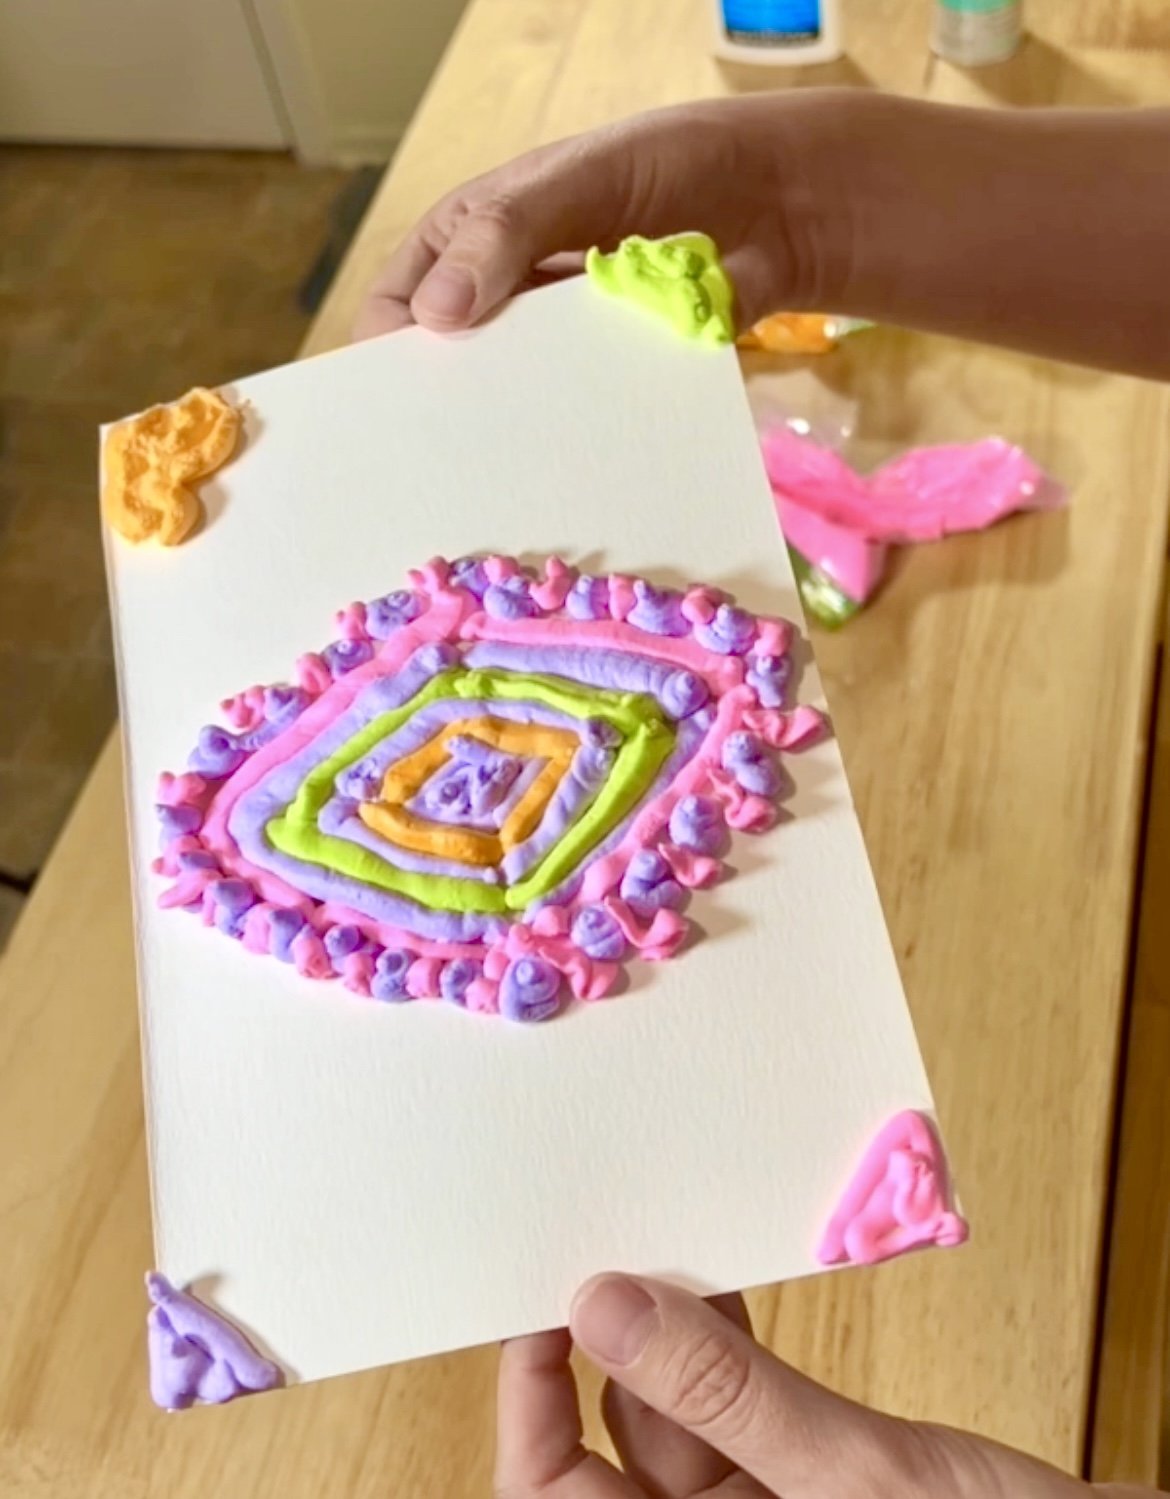
There are two variations of puffy paint that are fun to use. One is super puffy (on the left), while the other is a microwave version (on the right) for instant drying! Both are great for practicing pre-writing or letters, but the microwave version might be better for younger kids since it’s less sticky. However, if you put either one in a squeeze bottle, it’ll help reduce the mess.
Air Dry Version (pictured on the left)
-1/4 cup glue
-3/4 cup shaving cream
-3 Tbsp. flour
-food coloring
Mix all ingredients.
Put it into a Ziploc bag for easier use, and snip off the end for a DIY piping bag. Alternatively, you can put this puffy paint into an actual piping bag or a squeeze bottle. You can also use a paintbrush.
Paint.
Wait for your creation to dry.
Microwave Version (pictured on the right)
-1/2 cup flour
-2 tsp. baking powder
-1/2 tsp salt
-water
-food coloring
Mix the flour, baking powder, and salt.
Add water until the consistency is that of a thick pancake batter. You don’t want it to be too thin because it will get runny.
Add your desired food coloring.
Put the paste in piping bags or squeeze bottles. Alternatively, you can have your child use a Q-tip or brush to paint with it.
Paint.
Pop the finished painting into the microwave for 30-45 seconds.